FREE SHIPPING ON ALL ORDERS UNTIL 12/31/2024

Edit Content
The Auto Paint Depot logo small

Start Here

Start Here

The Importance of Proper Surface Preparation for Car Painting

Achieving the Perfect Finish Starts Beneath the Paint


Why Surface Preparation Matters

When thinking of a vehicle’s fresh coat of paint, many focus on the gleaming finish and striking color. However, there’s a hidden hero behind every successful paint job: the preparation. The state of the underlying surface dictates the longevity, protection, and vibrancy of the final coat. At The Auto Paint Depot, our vast experience in vehicle painting has repeatedly underscored one truth: proper preparation is paramount.

A pristine paint job isn’t just about elevating a car’s aesthetics; it serves as a protective shield against external elements, ensuring longevity and retaining the vehicle’s value. The longevity of this shield, however, hinges upon the meticulous preparation of the car’s surface. A well-prepared surface guarantees that the paint adheres seamlessly, resulting in a finish that is both beautiful and durable.

Initial Steps in Surface Preparation

Before diving into advanced surface preparation techniques, the foundation must be set. A vehicle needs to be pristine, devoid of any dirt, grime, or residues that might interfere with the painting process. Washing is not just about removing visible dirt; it’s about ensuring that the surface is free from contaminants that can undermine the paint’s adhesion.

Once the car has been thoroughly cleaned, a careful inspection is in order. Look for rust spots, dents, and scratches. Not only can these imperfections mar the paint’s appearance, but they can also compromise its protective qualities. Addressing these flaws is a non-negotiable step in the preparation process, setting the stage for a seamless paint application.

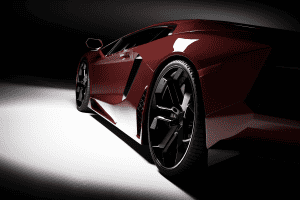
Blood Red Lamborghini The Auto Paint Depot

Sanding: The Key to Adhesion

Sanding isn’t just about smoothing; it’s about creating an environment where paint can thrive. It lays the groundwork for optimal paint adhesion, reducing the likelihood of post-paint issues like peeling or flaking. By initiating the sanding process with a coarser sandpaper and transitioning to finer grades, surface imperfections are effectively diminished, paving the way for a flawless finish.

The misconception is that sanding is about stripping away the old paint. In reality, it’s about refining the existing surface to ensure a uniform, smooth base for the new paint layer. This step, while labor-intensive, is integral to achieving a professional and lasting paint job.

Masking: Protecting What Shouldn’t Be Painted

While painting is about adding color and protection to specific areas, it’s equally crucial to shield the areas where paint isn’t desired. Precision in masking ensures that the painting process is controlled and delivers the desired result. The devil is in the details, and thorough masking ensures those details shine through.

Utilizing high-quality masking tape is imperative. This not only ensures sharp lines but also prevents unintentional overspray or seepage. The Auto Paint Depot has always emphasized the importance of top-tier masking materials, guaranteeing that paint graces only its intended surfaces, resulting in an impeccable and professional appearance.

Priming: Setting the Stage

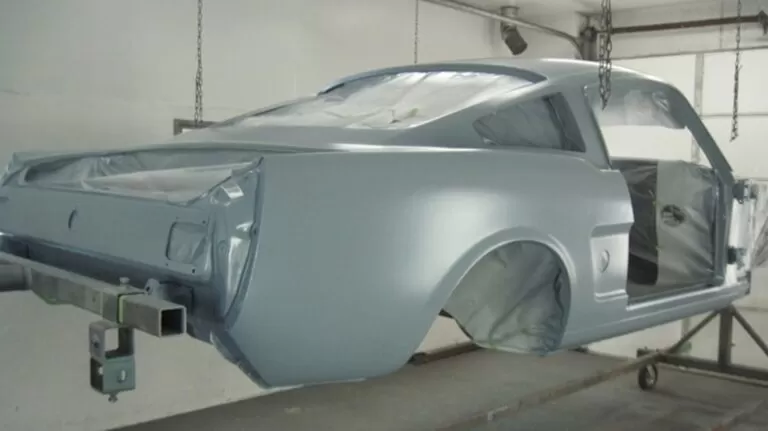
Priming is more than just an intermediary step; it’s the bridge between preparation and painting. A good primer doesn’t just enhance the paint’s adhesion; it serves as a protective layer for the exposed material underneath. With the vehicle’s surface sanded down, the metal underneath can be vulnerable, making primers an essential defense.

Additionally, primers lay down a consistent base tone, ensuring that the paint’s true color and finish are accurately represented. This means that when the topcoat is applied, it showcases its vibrancy and sheen without being compromised by underlying color variations or imperfections. In essence, a primer ensures your car’s paint job starts on the right note.

Choosing Quality Paints: The Finishing Touch

After committing time and effort to meticulous surface preparation, it would be a disservice to cap it off with anything less than the best paint. The paint is the final layer, the protective sealant, and the visual centerpiece of the vehicle. Opting for high-quality paint ensures not just an attractive finish but also durability against environmental challenges like UV rays, rain, and physical abrasions.

The Auto Paint Depot recognizes the importance of superior paint quality. We offer a curated selection of top-tier paints, ensuring every diligent step taken in surface preparation is crowned with a paint application that looks stunning and stands resilient against time and elements. It’s our commitment to ensuring that every vehicle we assist with reflects perfection inside out.

Tri-Coat Paint- A Complete Guide

Most cars since the 1980s have two-layer paint coating technology. The basecoat layer provides the vehicle with the color, while the second clear coat layer protects the basecoat from damage. This process has allowed automotive paint jobs to last way longer than ever anticipated as paint technologies have grown since the days of Henry Ford. Introduced soon after, was tri-coat paint.

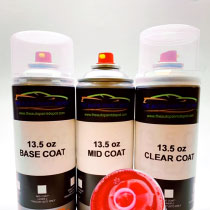
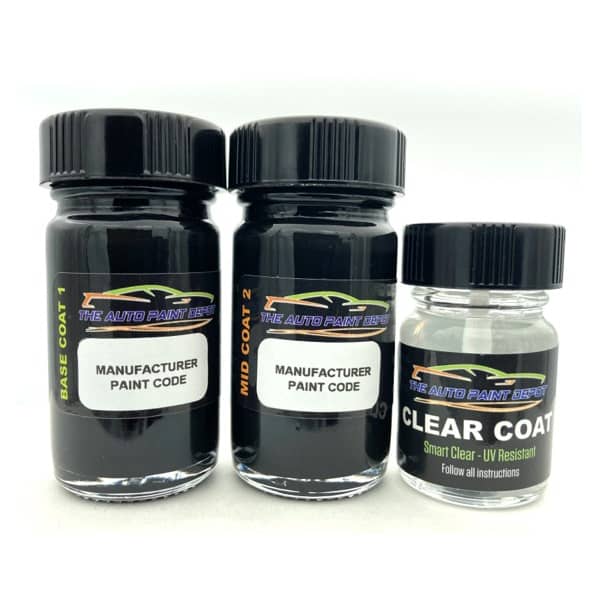
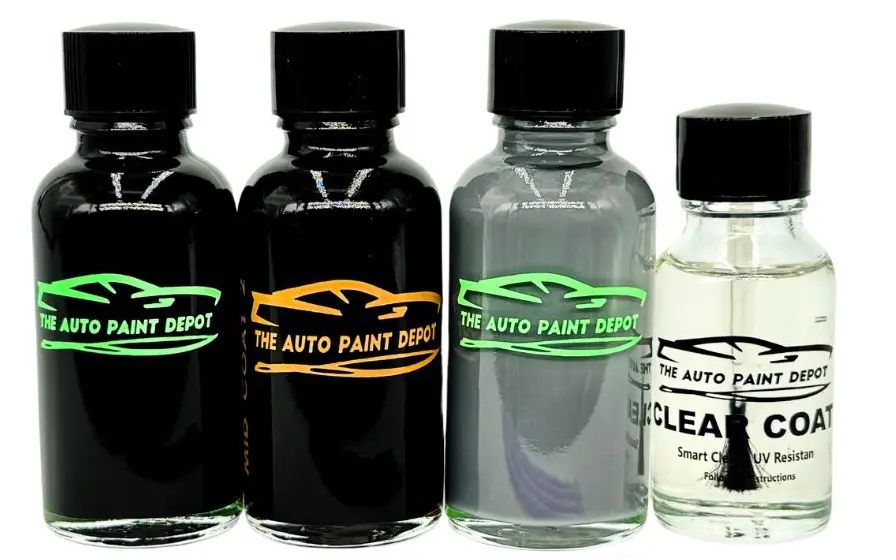
The addition of this extra mid-coat layer creates a more aesthetically pleasing finish. Tri-coat paint enhances your vehicle’s basecoat through adding more darkness, depth, or shine. Included below is all you need to know about tri-coat paint. The Auto Paint Depot has you covered for all your tri-coat paint needs. We are proud to offer tri-coat touch up paint in all sizes. All we need is the model, make, year, and paint code to accurately match your vehicle’s factory color!

What is Tri-Coat?

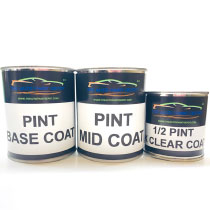
A vehicle that has a tri-coat paint job, simply has three layers of paint. Tri-coats were first introduced on luxury vehicles to enhance their qualities through adding more depth, glow, or darkness. When viewed under direct sunlight, the richness of the extra layer can be experienced. The layers applied in sequential order include the basecoat, mid-coat, and clear coat layer respectively.

The mid-coat is applied as a thin coating after the basecoat. Often used as a translucent color coat, the mid-coat permits light to pass through the paint job and be reflected back. Translucent means that only some light will pass through the surface, proposing it is not completely transparent. The sparkly finish on the mid-coat layer provides an extra layer of depth onto the paintjob that two layers would not normally do. Overall, the general richness of the paint job is increased as a result of adding the extra layer of paint.

Types of Tri-Coats

  • Metallic- Tends to reflect more light than a glossy finish. Adds sparkle and color depth by use of metallic particles or flakes.
  • Pearl- Uses ceramic crystals that both reflect and refract light. Light passes through more slowly, in which produces splits of different colors based on angle of viewing and sunlight amounts.
  • Candy- A high gloss, bright, and flashy finish. Candy paint uses a form of metallic paint with flakes in the basecoat. The mid-coat includes a unique candy paint shade. It is translucent, making candy paint pigment free, thus only consisting of coloring agents.

How to Apply Tri-Coat

The extra layer of paint tri-coats provide, simply adds an extra phase to the painting process. Before painting your vehicle, wash it thoroughly with specifically formulated car wash soaps and dry with a micro-fiber cloth to prevent water streaks. Cover all parts of the vehicle that are not being painted. Also, make sure the surface to be painted is sanded and primed after cleaning for the best results.

The basecoat is applied first for two to three coats. Obviously, let each coat dry before applying the next coat. Drying times are typically 15-20 minutes. Once the basecoats are completed, test the mid-coat color on a test-strip. Be certain that the mid-coat matches the desired color qualities you are looking for. The mid-coat should be translucent. If it is a match, begin to apply the mid-coat. The same drying times apply here as with the basecoat. Do not apply more than four coats as this will saturate the color properties and will no longer be a match. Finally, the clear coat layer can be applied for two to three coats.

Final Thoughts

Tri-coat paint lifts the boundaries of normal two-stage paints. The extra layer provides a more distinct hue through the use of increased darkness, sparkles, and depth. The different types of tri-coats can satisfy any car owner, based on each unique property the variations have to offer. The extra step in the painting process is a worthwhile endeavor, as the results can be breath taking.

The Auto Paint Depot is here with you every step of the way regarding your tri-coat painting needs. We offer tri-coat touch-up paint in all ranges of sizes fit for any job. Minor damage can be repaired with half and one-ounce bottles; while larger damage is covered with aerosol cans, pint, quart, and gallon variants. Contact us today regarding any questions you may have about tri-coat paint.

https://theautopaintdepot.com/?s=tri-coat&post_type=product&dgwt_wcas=1


THREE-COAT PAINT: TUTORIAL TO MASTER ITS APPLICATIONBottled BASF(OEM) Touch Up Paint for BMW Brilliant White Pearl Tricoat *U21* | eBay


25g PURPLE pearl Candy auto paint HOK HVLP SPRAY GUN GRAVITY Dupont | eBay

Tri-Coat


Automotive Primer: A Complete Guide on Why its Effective and How its Used

What is Primer?

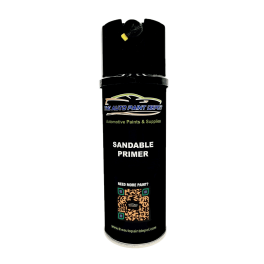
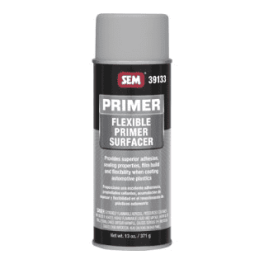
Primer is a paint-like substance used as an undercoat for the topcoat layer of paint. It is chemically formulated to allow for the topcoat layer to adhere to the vehicle more effectively. Primer essentially prepares the car for painting. In doing so, primer prevents the topcoat layer from peeling or flaking off over time. Along with providing adhesion, primer also helps with rust prevention, filling of imperfections, sanding ease, hold out of color, and increased drying speed.

Primer is a vital component to the longevity and general success of your project. It can be used after sanding the surface, but before applying the topcoat. We are here for you at the Auto Paint Depot for all your priming needs. Our website offers a wide variety of selections when it comes to primers. After reading about the different types of primers, consider which type best fits your project. If you have any questions regarding primers, please feel free to contact us today at (631) 392-1080!

Types of Primer:

  • Epoxy– A standard base primer that is great for corrosion (rust) resistance. Does not sand as well as other options.
  • Urethane Surfacer– A two-part primer surfacer that is commonly used in conjunction with a base primer layer. This is a great option for filling imperfections, but not as sufficient in corrosion resistance.
  • Polyester– This a great choice for use as a filler. Polyester primer is the top choice for filling small scratches. Though it tends to be more brittle than epoxy and urethane primers.
  • Urethane Sealer– The best option for a quick seal. Urethane sealer is excellent for sealing a vehicle that is already in good condition. However, it does not act as a filler.
  • Enamel– A very affordable selection that is similar to epoxy. It presents a good base for bonding that is also great for preventing corrosion as well.
  • Lacquer– This primer will dry faster than all other variations. Lacquer primers help to ease the sanding process.

How to Use Primer

Before starting the painting process, clean your car using specifically formulated car wash soaps and grease removers. This will make sure that any excess debris is cleared off from the car before painting. First things first, you must prepare the surface for priming. Use tarps or paper and masking tape to cover all areas of the car you are not painting. Applying masking tape is similar to using it for moldings.

Next, begin sanding the area that will be primed. For rougher areas use a heavier grit and for smaller areas lower grit will suffice. If you encounter any imperfections such as holes or dips, use filler (putty) to fix the issue. Some primers have the ability to act as a filler, be sure to read the labeling closely. If your primer does have the filling capability, sand over the surface once again after using putty.

Be sure to sand all the way down to the bare metal by getting rid of any rust formation. Make certain the surface is smooth and free of rust after sanding thoroughly. Let the car dry for a couple hours before applying the primer. Drying times vary based on weather conditions. Allotting time for proper drying improves the effectiveness of the primer’s adhesion.

If you are painting a large portion of the car, we recommend using a spray gun. When applying the primer, be sure to accurately apply it evenly across the desired surface. Even application prevents build-up and excess paint from bubbling over. Allow the primer to dry after beginning the next two coats. After the primer is dry, use fine-grit sandpaper to smooth out any mounds or dips that have occurred as a result of the primer. Fine-grit sandpaper will not remove the primer that was just applied. Now your project is ready for the basecoat layer.

Additional Materials Needed for Priming

  • Tarp/paper– used to cover surfaces not being painted.
  • Masking tape– adhesive used to tape tarp/paper.
  • Cleaning supplies– car wash soap, micro-fiber cloth, brush
  • Sandpaper- heavy and fine grit to sand desired surface.
  • Putty– used to fill imperfections (if primer does have filler ability)
  • Goggles– eye protection from potential splashing of paint
  • Dusk mask– breathing protection from inhaling harsh chemicals

Final Thoughts

As you can see, the use of primer does not go unnoticed. Its benefits are too much to pass up when painting your car. Be sure to determine what type of primer your project needs. Selecting the best primer for your project will contribute to the end result having increased durability. Take a look at the primers we offer on our website. We are proud to supply a wide range of primers to fit any job. Good luck with your project!

https://theautopaintdepot.com/?s=primer&post_type=product&dgwt_wcas=1


How to Do a Backyard Auto Primer Job on a BudgetPainting a car at home | Part 2 | Articles | Grassroots Motorsports


Paint Tips

Paint Tips, we got you covered…

What types of automotive paint applications are there? And what should I know?

With over 400k automotive paint colors available today, choosing the correct touch-up paint for your car’s exterior isn’t exactly as simple as picking out the closest color. Before you try to fix up any dents, scratches or rock chips, make sure to think about these key considerations so you know you’re using a quality paint product. The size of your project, paint application process and level of difficulty. All application types can be reached by the DIY’er. Here are some paint tips and information to try and help you decide which application is right for you.

Touch-Up Bottles

Touch up Bottles are the most common type of automotive touch-up paint applications out there. They are easy to use and typically mess free. Unlike touch-up pens which can scratch your vehicle, and dry out, touch up bottles usually come with a soft brush and supply a variety of techniques and tools that can be used to apply touch up paint effectively. Touch up paint bottles also have a longer shelf life and can last up to 2-3 years. Most car manufacturers make automotive paints in the exact colors of their vehicles, giving you a perfect match easily. The downside here is that the manufacturer prices are typically 3x the price and only provide a paint pen

Aerosol Paint Cans (a.k.a. Rattle Cans)

Aerosol cans are one of the most popular ways to repair a vehicle for small spot repairs. This handy and convenient ways to apply paint is extremely popular amongst the DIY audience. Some Aerosols can apply spotty so be sure that your aerosol can has a pro/adjustable nozzle. If you choose to use an aerosol, keep in mind that the spraying distance, temperature and conditions matters the most.

Overall, these work well when you use a professional grade type can with quality paint and the right spray nozzle. Most cans cover 2-3 sq ft. You can also buy an added spray handle grip for easier paint-gun-like spraying techniques. Be cautious of the type of paints used in these cans. You get what you pay for! Ask your paint supplier for Single Stage Aerosols as they do not need a Clear Coat but can cost more.

Professional Sizes

Professional size paints typically start at a Pint, Quart and Gallon Sizes. When calculating your project size, be sure to calculate for 2-3 coats of coverage. Professional size applications give you the most paint for your money and supply a high-quality OEM finish. The downside here is the equipment that go along with the application process can cost more than the actual paint itself, but still less than body shop price repairs. Professional sizes are typically applied with a HPLV Spray Gun needing a compressor, a controlled environment (such as a spray booth) as well as safety equipment.

What should I look for when shopping for my car’s paint

Color Match

When looking for the perfect car touch-up paint for your vehicle, it’s important to make sure the final outcome will match well with the factory paint. Several different companies make universal color matches for black, white, and silver cars that work well, but your best bet is to buy from a paint company that uses OEM formulas to find the perfect color match. Using companies that mix there product digitally to ensure the latest formula updates and accuracy in for color matching is highly recommended. When your paint is mixed digitally you can also guarantee you will receive an exact match to what was bought if you need to more in the future.

Type of Paint

As always, the applicator and the application matters. When selecting your paint, ensure you are using a professional automotive urethane paint for the best result for your project. Waterborne and water base type paints can appear to be a bit less expensive and effective however these paints typically take 3-4 more coats to cover your area for repair thus using more paint.

Application Process

Touch-up paints that come in kits with multiple steps is a good sign for a quality product and will leave you with the best results. Usually, these kits have a primer, a paint, and a clear coat along with dabbers (Touch up kits) to seal the deal. The finished product will look seamless than a one-step paint pen or single stage (1 step process) paint results could deliver.

Automotive Touch-Up Paint Pricing

Touch up paints typically start for around $20. For less than $50 you’ll find a few of easy-to-use repair options. The quality does vary, though, so watch out for over-promising color matches and under-performing paints. You can spend $20 to $30, and you’ll see a wide variety of options including kits, aerosols, touch up bottles and pens available.

Many of them do a decent job, but the more quality ones will have a multi-step process that including professional grade paint as well as a clear coat to seal in your work. And for $50 or more, you’ll shop the best paint kits out there, complete with masking tape and more. The quality of the paint and applicators for better priced kits tends to be better overall.

For more information about your project or automotive painting questions, please feel free to reach us at info@theautopaintdepot.com