Revamp Your Car While Also on a Budget: DIY Tips and Tricks for the Car Enthusiast from the Auto Paint Depot

Applying cosmetic and mechanical upgrades to your car can be a costly endeavor. Fortunately, there are means to give your car a facelift, while also adhering to your personal budget. The common car enthusiast can save money by taking the time to learn and complete various tasks that can immensely improve the look of your car. Gaining the knowledge of how to fix your car on your own will save you costly trips to the body shop. The Auto Paint Depot has all the automotive supplies needed for you to make your car look better than ever at affordable prices. Follow these expert tips below on how to revamp your ride on a budget for the DIY car enthusiast.
Deep Cleaning and Detailing
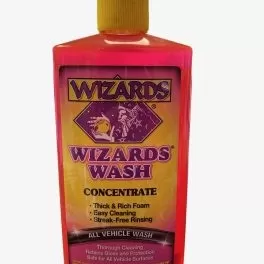
Why take your car to a body shop or car wash to be cleaned and detailed, when you can get the same professional results as DIYer for a fraction of the cost? Having a weekly routine of washing your car is vital to keeping it looking great at all times. Our affordable specifically formulated car wash soaps and waxes will keep your car looking fresh without having to pay excessive prices. Vacuuming the interior of your car on your own can also be a money saver. A common household vacuum or shop vacuum will do the trick in cleaning the carpets and seats.
In addition, cleaning the interior of your car’s surfaces can be done in house by making one small purchase. Simply use automotive interior wipes to deeply clean the interior surfaces of the vehicle that cannot be reached with a vacuum.
Wiping down the center console and dashboard may seem like a small step but will contribute to making your car feel fresh out of the dealer. Consider investing in new floor mats and car seat covers. This worthwhile purchase will help your car stay cleaner longer and will reduce the chance of messiness and permanent damage.
Try using the professional grade car wax that we use on your car today. You will be pleased with the professional detailed look the car wax we supply will give your car. Remember to apply wax once every three months. In order not to oversaturate your car’s base paint layer. Take advantage of our automotive cleaning supplies to produce a professional finish from browsing our detailing and polishing section of the website.
Fix Small Scratches and Chips
Small imperfections and damage on your car are tough to notice on a day-to-day basis. Take the necessary time to thoroughly examine the body of your car to notice any small scratches and chips that could go unnoticed. Painting over small scratches and chips incorrectly will damage the final outcome of your DIY project. This will directly lead to spending more money to address the mistake.
Do not defeat the purpose of adhering to your budget. Therefore, consider using our touch-up paint bottles to address this issue on a budget. Our half-ounce and one-ounce bottles are perfect for repairing minor damage. Be informed to choose the correct color for your car by referencing the paint code in the driver’s side door jam.
When fixing small scratches and chips be sure to sand the area with the correct level grit of sandpaper. Next, use primer after sanding. Then, apply the base coat paint to your car. Apply three coats of base coat, while waiting fifteen-minute intervals in between coats ensuring they dry properly. Lastly, apply the clear coat to the desired area for at least three coats. Allow each clear coat layer to dry before applying the next layer. Following all of these steps will ensure that your DIY project will yield a professional result.
If you have any questions on how to do your DIY project, please call the shop at (631) 392-1080. We are with you every step of the way and can offer expert advice and recommendations when it comes to automotive paint and supplies. These aforementioned products can be purchased from our website directly for competitive prices.
Fresh Paint Job
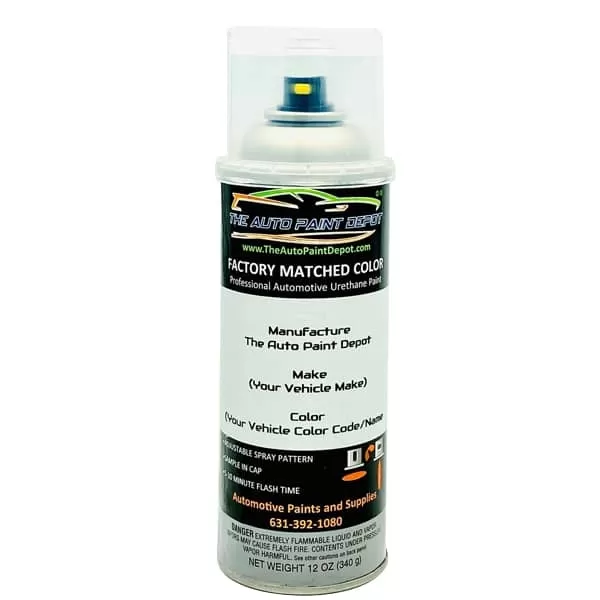
Regularly when considering a fresh coat of paint for your car, the thought of the cost can be daunting. Body shops can often charge large fees for the full paint job of a vehicle. However, we at the Auto Paint Depot are here for all the car enthusiasts that are looking for great deals to supply all DIY needs. In general, when painting substantial portions of your car, we recommend purchasing our aerosol cans, pints, quarts, and gallons automotive paint products. In order to achieve the best results, a spray gun must be used. Be sure to follow all the directions we provide on how to use the activator product when painting your car.
The first step is to clean the car thoroughly before beginning the painting process. Wash your car with specially formulated car wash soap, rinse thoroughly, and dry your car using micro-fiber cloths to prevent water spots. One your car is clean, cover any parts of the vehicle that are not going to be painted. We recommend using cloths and tape to protect areas not being painted.
Begin sanding the area with the correct level of grit sandpaper. This process strips the current layer of paint down to the bare metal. In doing so, sanding removes the layer of rust produced and further helps to make the new layer adhere to the body better. Next, apply two to three coats of primer to the desired area. The use of primer is a vital step to the overall effectiveness of your DIY project. Primer acts as a bonding agent to aid in the paint holding more effectively to the body of the car.
Following the primer, begin applying the basecoat. While using the spray-gun, be sure to be 6-8 inches away from the body and apply the paint in even layers to achieve the best results. Repeat this process for the three coats, allowing each layer to dry for 20 minutes in between. The last step and unironically the last line of defense for your new paint job is applying clear coat. This invisible layer shield helps protect from debris and UV radiation, while also adding an aesthetically pleasing gloss finish to your car. Apply two to three coats and let each layer dry before applying the next.
All of the products needed for this DIY project can be found at the Auto Paint Depot. Please contact us with any further questions and concerns regarding your project. Also, watch our “How-To” videos on our website for a more visual representation.
Repair Windshield
Debris from the roads you drive on can strike your windshield and produce a scratch. Pesky pebbles and rocks are the main culprit for this occurrence. Once your windshield is cracked, you must repair it as soon as possible. A scratched windshield can limit your visibility when driving but can also grow in size over time. The changing temperatures from hot to cold can cause the windshield glass to expand in size, thus making visibility even more difficult.
More often than not, your insurance will cover the cost of replacing the windshield. Or if you are a DIYer, you can purchase a windshield repair kit and fix it on your own. However, we recommend hiring a professional as windshield visibility is crucial to your safety and the safety of others on the roads. Your insurance covering the costs will allow to spend more of your budget on other means.
Tint Windows
Tinting your car’s windows contributes to the overall mystique your DIY project is striving to accomplish. Window tint will begin to peel and fade over time. Replacing window tint as a DIYer can be attained without having to visit auto shops for astronomical prices. Using a couple of simple tools and techniques, window-tinting can be done as a DIYer on a budget. However, make sure to adhere to the laws of your state for window-tinting percentages.
Different states have the ability to create their own legislation to the percentage of window tint they allow. For example, New York State’s law for window tint prohibits tints of more than 30% for both front and back side windows. Meaning the tint must allow for more than 70% of light to reflect in. Be aware of these laws, as they vary from state to state.
Tires and Rims
It is recommended by automotive professionals that you replace your tires every three to five years. The lifespan of your tires varies based on weather conditions and amount of use. Generally, a tire with little to no tread on it must be replaced as it is a safety hazard to the driver. Old tires that lack tread will increase the chances of an accident as the tires will not grip the road as well as they are intended to.
Look for exclusive deals when on a budget when purchasing tires. The off-peak time when tires are at lower costs is the spring and fall. P Many places of business offer deals if you buy all four tires at once, in which case can save you more money on your budget.
Furthermore, rims with minor scratches on them can be fixed by the DIYer on a budget. Scuff marks are produced on car rims by rubbing up against curbs, thus the common term “curbed rims.” Be aware of your surroundings and parallel park carefully to decrease the chance of this happening. If your rims are “curbed” you can fix them on your own, with the help of the Auto Paint Depot.
When repairing rims, the same common process is conducted when painting the body. Repair your rims by cleaning the area first. Next, use sandpaper to buff out and smooth the minor scratches. Applying primer readies the rim to bond more effectively to the spray paint. Obtain the rim spray paint color of your choice and apply it to the rim. Follow the same amount of coats and time needed in between as if you were painting the body. Finally, apply clear coat to protect the paint layer and produce a gloss finish.
https://theautopaintdepot.com/shop/detailing-and-polishing/


